Basic Spherification involves infusing a liquid with Sodium Alginate and submerging it in a bath of either Calcium Chloride or Calcium Lactate. Sodium Alginate is an extract found in brown algae and is used to add viscosity to the submerging liquid and to react with the Calcium solution to quickly form a gel membrane.
Basic Spherification has its pros and cons.
Pros
- Basic Spherification produces an extremely thin membrane which easily bursts under pressure and is nearly imperceptible in your mouth. Unlike Reverse Spherification there is no jelly like residue left in the mouth.
- The thin membrane is flexible enough that as larger spheres settle on the plate they resemble a perfect sphere or at least have symmetry.
- Basic Spherification is the quicker of the two methods taking as little as an hour compared to 24 hours for Reverse Spherification.
Cons
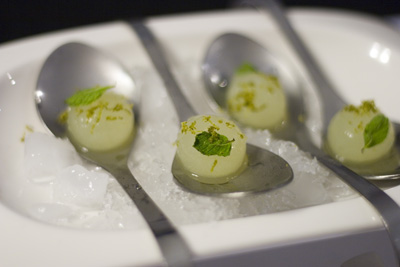
- As the Basic spherification technique produces delicate spheres with very thin barriers, they are extremely delicate and are easy destroyed before being eaten. To prevent this you should plate larger spheres on the vessel from which they’ll be eaten from. A tasting spoon or Chinese soup spoon is a good suggestion.
- Spheres made through the Basic method must be consumed as soon as possible as the jellification process does not stop once the sphere is removed from the calcium solution. This means that if left too long the sphere will completely gel through to the center leaving you without the bursting liquid inside. This makes producing large numbers of spheres very tricky as the first ones finished will continue ‘cooking’ as you finish the remaining spheres.
- This can be overcome by heating the spheres to 185F / 85C for 10 minutes.
- Jellification will not occur if the acidity of the liquid you are looking to gel has a low pH (<5) / high acidity. Fortunately this can be rectified by the addition of something to reduce the acidity like sodium citrate. However, following the recipe is key as too much sodium citrate can make the liquid taste salty and sour.
When to use: The Basic spherification method works very well for small spheres such as those called caviar because you can produce several at one time without the fear of them sticking together (unlike Reverse Spherification). Try it out with this Melon Caviar recipe.
How to make spheres using Basic Spherification:
- The first step in Basic Spherification is to ensure your liquid does not have too high of a pH to form a sphere. Most recipes will add a step to correct for this, but if you are adventurous and making your own recipe simply use litmus paper to test the liquid and add small amount of sodium citrate until the pH is above 5.
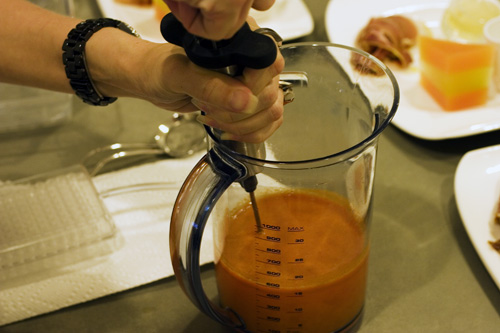
- Next you need to create the right level of viscosity. Sodium alginate is the preferred additive here given it will react with the calcium solution later. For thinner liquids like pure juices, simply add the amount called for in the recipe and using an immersion blender, thoroughly blend the mixture. As sodium alginate is very ‘sticky’ it may take some time to get the compound fully blended. For thicker liquids like purees, you may need to add some water first to generate a true liquid in which to dissolve the sodium alginate.
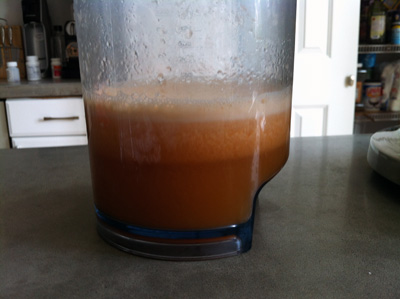
- After this blending you may want to leave the solution in the refrigerator to settle for an hour or so to remove any air bubbles caused by the immersion blender. This step is, however, unnecessary and for aesthetics only.
- While the liquid is resting you can create the bath in which it will be submerged. Following the recipe, dissolve the appropriate amount of calcium chloride or carbonate into water (preferably distilled water as some tap waters contain high amounts of calcium already).
- A typical ratio of calcium chloride or carbonate to water is 0.5%. Unlike sodium alginate the calcium should easily dissolve into the water so no real need to use an immersion blender.
- Finally prepare another bowl of clean water for rinsing the spheres.
Now you are ready to make Spheres!
The tool used for dispensing the liquid into the calcium bath depends on the shape you want.
- A food syringe will make small caviar
- Spherical spoons (typically measuring spoons) will result in spheres
- A whipping syphon could produce long strands or other interesting shapes.
- Additionally you can get creative and experiment with more unconventional shapes.
A Lesson in Physics…
Getting the dispensing height and speed right takes practice. Start too high and you could distort the shape as the sphere hits the water and spreads out. Pour too slowly and the shape could fail to hold leaving you with a trailing amoeba like shape.
For caviar you can adjust the height up or down until you see perfect spheres drop to the bottom of the dish and then proceed with a constant stream of pressure.
For spheres hold the spoon as close to the water as possible and with a quick turn of the wrist drop the liquid into the bath. To make this easier choose a dish where the water reaches near to the top and where your hand has enough room to maneuver comfortably.
Rinse & Repeat
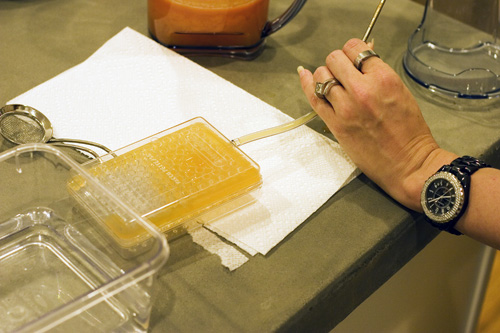
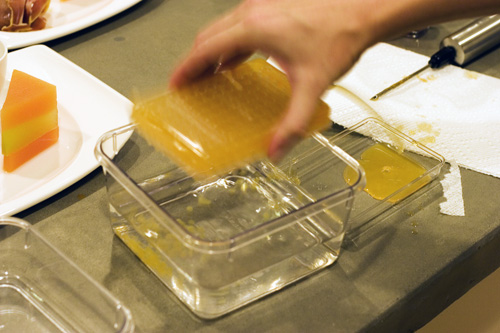
Leave the spheres in the water for the time called for on the recipe remembering that the longer they are submerged the thicker the membrane will be. You may want to start with a few trial spheres to ensure you have the time correct. Once ‘cooked’ fish the spheres from the bath with a strainer (for caviar) or metal slotted spoon (for larger spheres) and drop them into the clean water. Using a metal spoon will help the spheres slide into the bath more easily thus reducing the risk of breakage.
Once the spheres have finished their quick bath you are ready to serve! Sit back and enjoy the curious expression turn to surprise and finally to excitement and then a hunger for more.


Leave a Reply